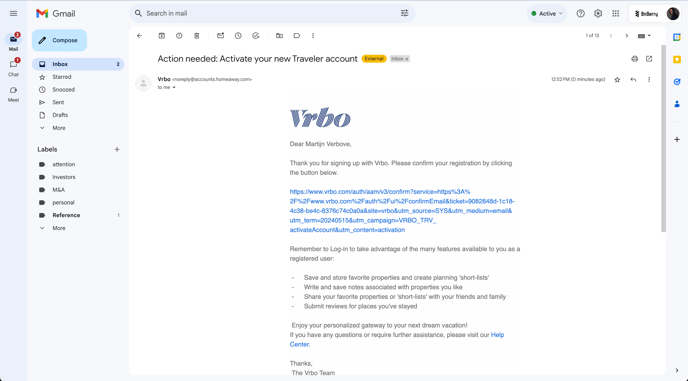
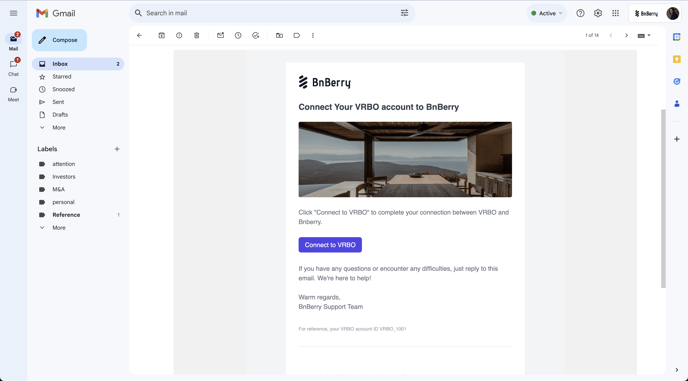
Step 1: Receive Activation Email
- Check your email for an activation message from us.
- Click the "Connect to VRBO" to proceed with your account setup.
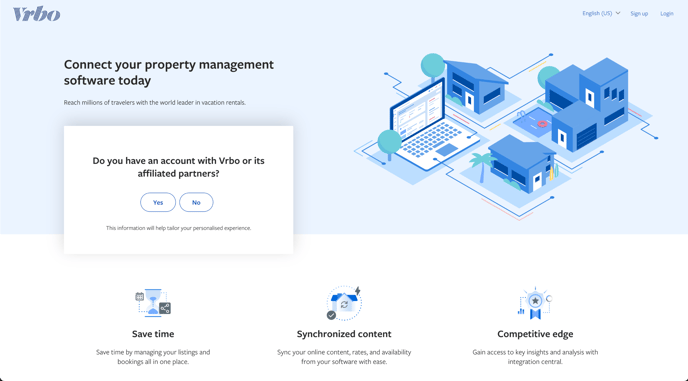
Step 2: Select Account Status
- On the VRBO connection page, you will be asked: "Do you have an account with Vrbo or its affiliated partners?"
- Click No to create a new account. If you already have an account, follow this link to connect your existing account.
Step 3: Indicate Software Usage
- You'll be asked: "Do you currently use property management software?"
- Select Yes to confirm that you use property management software.

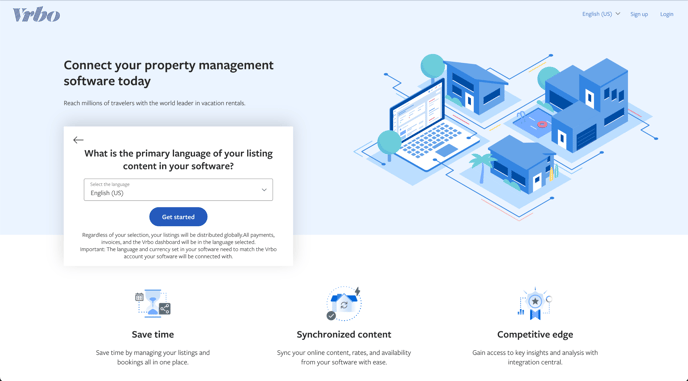
Step 4: Select Primary Language
- You'll see a prompt asking, "What is the primary language of your listing content in your software?"
- Choose your preferred language from the dropdown menu.
- Click the Get started button to finalize your language selection.
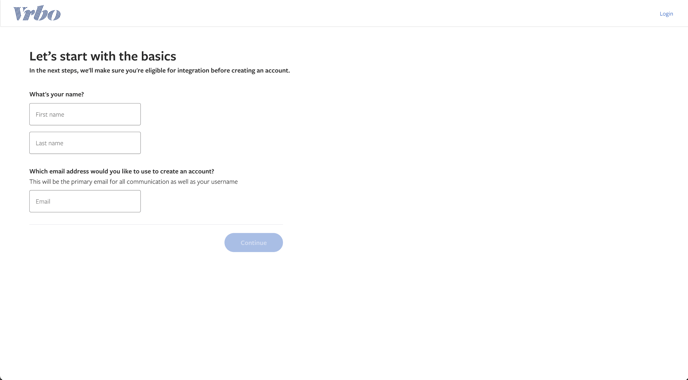
Step 5: Enter Personal Information
- Fill in your first and last name in the provided fields.
- Enter the email address you would like to use for your account. This will also serve as your username for login purposes.
- Click the Continue button to proceed with the registration process.
Step 6: Select Currency
- Choose the currency you want to use for transactions. Make sure it matches the one you use in your property management software.
- Select your preferred currency from the dropdown menu.
- Click the Continue button to proceed.

Step 7: Provide Company Information
- Enter the name of your company in the provided field.
- Select the country where your company is located from the dropdown menu.
- Click the Continue button to proceed.

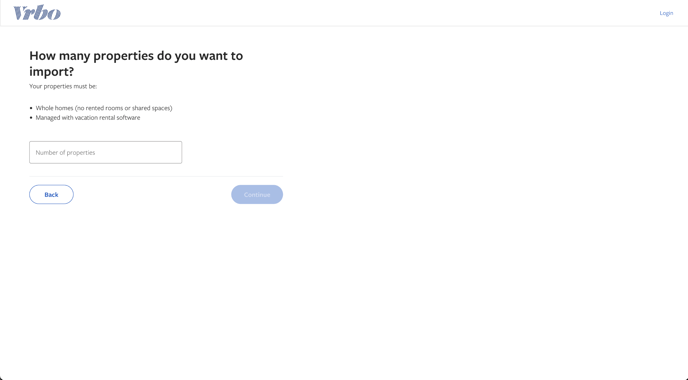
Step 8: Specify Number of Properties
- Input an estimate number of units you will manage via Bnberry
- You can add more later via Bnberry if needed.
- Click the Continue button to proceed.
 Step 9: Finalize Account Creation
- Review all the pre-filled details including your name, email, and company name. Make sure they are correct.
- Provide any additional required information such as your phone number and choose a password for your account.
- Click the Create account button to complete the setup of your VRBO account.

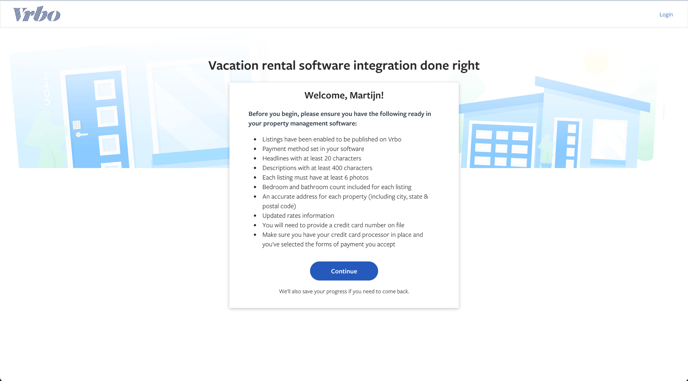
Step 10: Confirm Integration Readiness
- A welcome message and a checklist of integration requirements will be displayed. Don’t worry about the details listed, as your team has already prepared everything on your behalf.
- Simply click the Continue button to proceed with the VRBO integration.
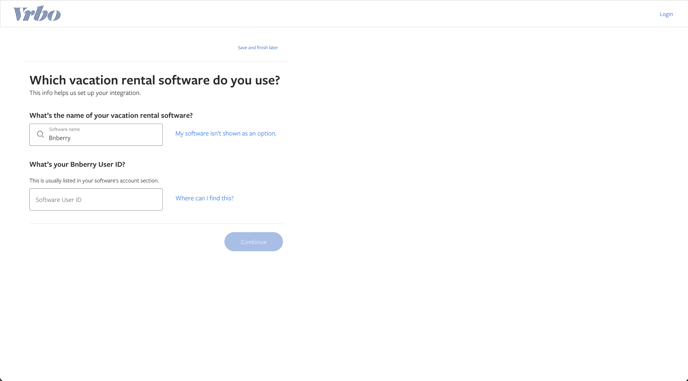
Step 11: Connect Bnberry Software
- This step might not always be required. If you do see it, enter "Bnberry" as the name of your vacation rental software.
- If this step is not shown, proceed directly to Step 12.
- If prompted for your Bnberry User ID and it’s not pre-filled, use the information from the activation email you received in Step 1.
- Click the Continue button to proceed.
Step 12: Enter Mailing and Billing Addresses
- Fill in your mailing address. Select the appropriate country from the dropdown menu.
- Decide whether your billing address will be the same as your mailing address. If it differs, choose "Use a different billing address" and provide the billing address details.
- Click the Continue button to proceed.
Make sure all address information is accurate to avoid any issues with account setup or billing.

Step 13: Review Pay-Per-Booking Setup
- Click the Continue button once you have understood all the terms related to this payment setup.

Step 14: Review and Confirm Purchase Order and Listing Agreement
- You will be presented with your purchase order and listing agreement. Review all details carefully to ensure everything is correct, including company information and dates.
- Confirm your agreement by checking the box indicating that you have read and agree with the Purchase Order and Listing Agreement.
- Click the Continue button to finalize your agreement and proceed.
-png.png?width=688&height=381&name=image%20(8)-png.png)
Step 15: Set Up Commission Payment Method
- Enter your credit card details including the cardholder's name, credit card number, expiration date, and security code.
- Decide if the billing address for your credit card will be the same as your mailing address or if you will use a different one. If different, enter the required billing address details.
- Click the Continue button to save your payment information and proceed.

Step 16: Completion and Confirm email
- Please check your email for an activation link from VRBO and click it to confirm your registration. This step is crucial to activate your account.
- Keep an eye out for a follow-up call from the VRBO team within the next three working days to confirm your setup.