Follow this comprehensive guide to activate your new Airbnb account and connect it to BnBerry software. Ensure to provide accurate information for successful integration and account verification.
Step 1: Activation Email
- Receive the Email: Look out for an email from Airbnb, which will be sent once your information is added to the BnBerry portal.
- Activate Your Account: Click the 'Activate your account' button within the email.

Step 2: Confirm Your Information
- Confirm Personal Details: You'll be asked to confirm the information you previously shared. This includes your first name, last name, and date of birth.
- Match Government ID: Make sure all the details match those on your government-issued ID.

Step 3: Set Your Password and Agree to Terms
- Create a Password: Choose a strong and secure password for your account.

- Agree to Terms: Read and agree to the terms of responsibility outlined by Airbnb.

Step 4: Profile Setup

- Add a Profile Photo: Choose an appealing photo of your property or a personal photo for a more personal touch.

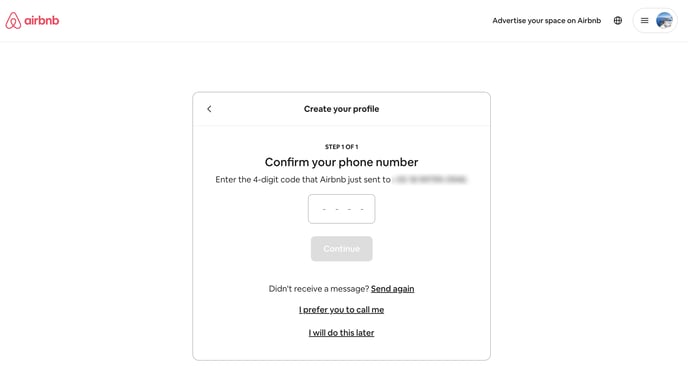
- Enter Your Phone Number: Provide an active business phone number. Remember, you will receive an activation code on this number.

- Verification Code: Receive a 4-digit code via SMS or request a call to verify your number. Input the 4-digit code to confirm your phone number.
Thank you for your patience so far! Now, let's move forward with verifying your account.
Step 5: Access Account Settings
- Navigate to Account: Once phone verification is complete, go to the top left corner of Airbnb's home page, click your profile picture, then select the account

- Account Settings: Select Profile Info

- Add Government ID: Select the option to add a government ID to verify your account. Remember, the information you added earlier must match your government ID.

- Select how you wish to add your ID: Use your webcam or the Airbnb mobile app to upload a photo of your government ID.

- Choose an ID type to add: Ensure that all required information is clearly visible.

- Submit for Verification: After submission, Airbnb will review the ID. The review process may take up to a few minutes.

- Review Status: Wait for the on-page notification indicating the review is in process.

- Confirmation Email: Look for an email from Airbnb confirming whether your identity was successfully verified or not.

Step 6 - Review BnBerry Connection
- Connection: Access your Account Settings

- Double-check if BnBerry is your software provider: Click on services and make sure you can see BnBerry.

Step 7 - Adding Required Account Info
- Set Host Account Information: ➡️ Click on this link ⬅️ and follow the steps to fill in the host's account.
- Click Next to start filling in the information. This is required by law

- Select Private Company

- Fill in all the required personal info

- Fill in the required business info

- Now this is your last screen. Please review every detail, to ensure complete onboarding.

YOU ARE ALL SET!
Thank you for completing this step. Now please notify your onboarding specialist that you've completed all steps and are ready to move forward.